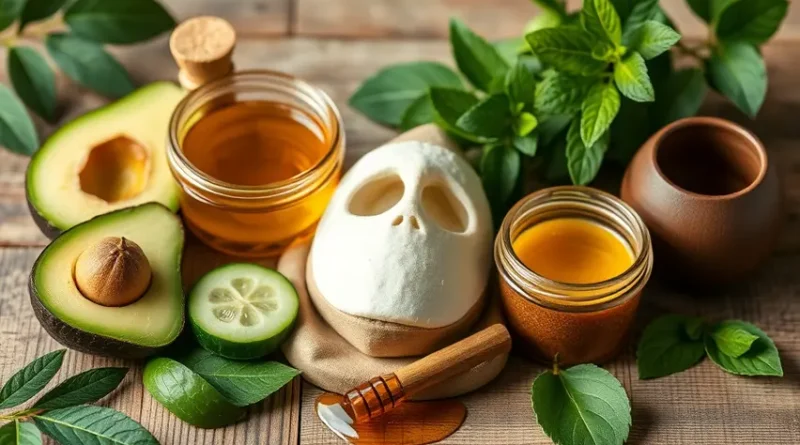
DIY Face Masks for Every Skin Type
Your skin is unique, and so are its needs. Whether you’re facing dryness, acne, or a combination of various skin issues, there’s a DIY face mask that can help you achieve a radiant glow. In this post, we’ll explore several effective and easy-to-make face mask recipes tailored to different skin types. With natural ingredients readily available in your pantry, you can treat your skin right from the comfort of your home.
Before we dive into the recipes, it’s important to understand your skin type. Typically, skin can be categorized into four primary types: oily, dry, combination, and sensitive. Identifying your skin type will help you select the most beneficial ingredients for your homemade masks.
1. Face Masks for Oily Skin
Oily skin often requires products that can absorb excess sebum and unclog pores. Here are two effective DIY masks:
Green Tea and Honey Mask
Ingredients: 1 tablespoon green tea (brewed), 1 tablespoon honey.
Instructions: Mix the brewed green tea with honey until you get a smooth consistency. Apply the mask to your face and let it sit for 15-20 minutes. Rinse off with lukewarm water. The green tea works to reduce oiliness and inflammation while the honey provides hydration.
Clay Mask
Ingredients: 2 tablespoons clay (bentonite or kaolin), water.
Instructions: Mix the clay with enough water to create a thick paste. Apply to your face and allow it to dry for about 15 minutes. Rinse with cool water. This mask will help absorb excess oil and draw out impurities.
2. Face Masks for Dry Skin
If you struggle with dryness, your skin craves moisture and nourishment. Try these masks:
Avocado and Yogurt Mask
Ingredients: ½ ripe avocado, 2 tablespoons plain yogurt.
Instructions: Mash the avocado in a bowl and mix in the yogurt. Apply the mixture evenly across your face and leave it on for 20-30 minutes before rinsing with lukewarm water. The healthy fats in avocado combined with the probiotics in yogurt work wonders in hydrating and soothing dry skin.
Banana and Oatmeal Mask
Ingredients: 1 ripe banana, 1 tablespoon oatmeal.
Instructions: Mash a ripe banana and mix it with the oatmeal. Spread the mask over your face and relax for about 15-20 minutes, then rinse off. This nourishing mask will leave your skin feeling soft and rejuvenated.
3. Face Masks for Combination Skin
Combination skin can be tricky since you might deal with oiliness in the T-zone while the rest of your face is dry. Here are two masks to balance out your skin:
Honey and Cinnamon Mask
Ingredients: 1 tablespoon honey, ½ teaspoon cinnamon.
Instructions: Blend the honey and cinnamon in a small bowl until mixed. Apply sparingly to areas needing attention (like oily regions) and leave on for 10 minutes before rinsing. This mask fights bacteria and soothes inflammation, making it perfect for combination skin.
Cheese and Citrus Mask
Ingredients: 2 tablespoons ricotta cheese, juice from ½ lemon.
Instructions: Combine the ricotta cheese with lemon juice until well-blended. Apply the mask all over your face and let it sit for 15 minutes. Rinse with water. The citric acid in lemon helps brighten the skin, while ricotta nourishes dry areas.
4. Face Masks for Sensitive Skin
Sensitive skin often reacts to certain ingredients. Hence, opt for gentle masks that won’t irritate:
Cucumber and Aloe Vera Mask
Ingredients: ½ cucumber, 2 tablespoons aloe vera gel.
Instructions: Puree the cucumber and mix it with aloe vera gel. Apply the mask for 15-20 minutes and rinse off. This soothing mask will help calm redness and irritation.
Oatmeal Mask
Ingredients: 2 tablespoons finely ground oatmeal, water to create a paste.
Instructions: Combine the oatmeal with water to form a thick paste. Spread it on your face and leave it for 15 minutes. Rinse with lukewarm water. The oats provide a soothing effect and are excellent for alleviating dry and irritated skin.
Try these DIY face masks to nourish and rejuvenate your skin. It’s crucial to do a patch test with any new ingredient, especially if you’re unsure how your skin will react. Remember, the best skincare doesn’t require a spa visit, just a little creativity and self-care from home!

